
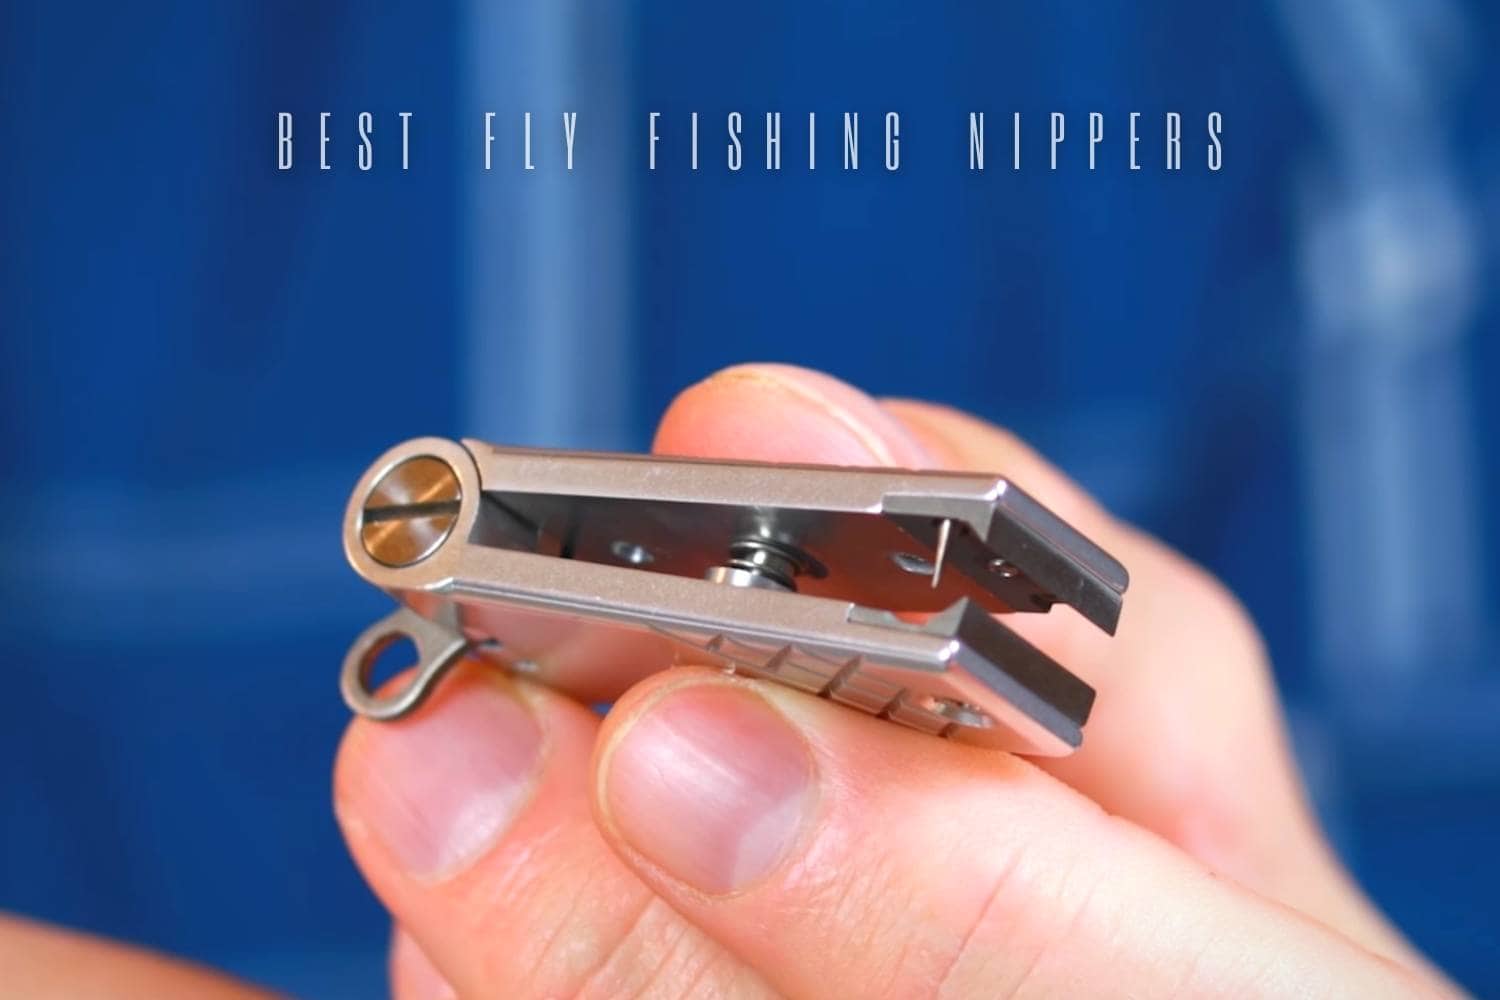
A fly-fishing nipper has one uncomplicated job: leave a clean tag end without making you fight the tool. The details matter when your hands are cold, wet, or occupied with a small fly. A cutter that lives in the wrong pocket, twists on its retractor, or crushes fine tippet is not doing that job well.
The named models below are article-era examples rather than a present-day shopping list. Use their different designs to decide which cutting range, grip, attachment point, and extra tools belong on your vest. Then inspect the exact unit in front of you before relying on it beside the water.
Choose by the cutting job
Start with the line you actually trim. Fine trout tippet rewards precise jaw alignment and a clean closing action. Heavier mono, leader material, backing, or braid can ask much more of the cutter. A nipper that feels excellent on delicate nylon may not be the tool you want for thick material, and forcing an undersized cutter can produce ragged ends or sore fingers.
| Fishing job | Prioritize | Check in hand |
|---|---|---|
| Fine tippet | Precise jaw meeting and controlled pressure | Cut several short tag ends and inspect for flattening or fraying. |
| Mixed leader sizes | A usable range rather than one impressive maximum | Try the thinnest and thickest material you normally carry. |
| Frequent saltwater use | Simple construction and an easy cleaning routine | Look for places where salt and grit can remain around the pivot. |
| Cold or wet hands | Grip area, leverage, and a positive attachment | Operate it with the same hand position you use while fishing. |
Do not let an accessory list distract from the cutter. An eye-cleaning pin can be genuinely useful when paint or resin blocks a hook eye. A knot tool can earn its place if you tie that knot regularly. If the extra never gets used, it is only more shape to snag on line or clothing.
Article-era examples, kept in their proper context
These models illustrate distinct approaches described for their article-era versions. The observations should not be transferred to later products that reuse a familiar name.
| Article-era model | Useful observation | Best lesson |
|---|---|---|
| Orvis Comfy Grip Nippers | The soft grip was easier to squeeze than a plain metal body, and an eye-cleaning point was included. | Comfort is valuable when repeated pressure or sensitive hands are part of the day. |
| Loon Outdoors Rogue Nipper with Knot Tool | The compact body combined cutters, an eye pin, and a nail-knot tool. | A multi-use design works best when every included function matches your rigging routine. |
| ABEL Nippers | The article-era unit paired a textured aluminum body with replaceable cutters; the author specifically said he owned this model. | Replaceable cutting parts can matter more than decorative finish on a long-kept tool. |
| Loon Outdoors NIP N’ SIP V2 | This version combined replaceable cutters, an eye pin, and a bottle opener. | Extra tools change bulk and handling, so judge the entire object rather than the blade alone. |
| Umpqua River Grip Nippers | The described version used a rubberized grip and tungsten-carbide cutters. | Grip texture and cutter material are separate decisions; both still depend on alignment and condition. |
Grip, leverage, and where the tool lives
Small nippers are easy to lose and surprisingly awkward to operate when they are dangling at the end of a long cord. Check that the attachment ring lets the jaws face the way your hand naturally approaches them. A short, controlled reach from vest, pack strap, or lanyard is usually more useful than a theoretically perfect tool buried in a pocket.
Grip width affects leverage. Broad or rubberized surfaces can spread pressure across the fingers, while slim metal bodies take less space. Neither is automatically better. Try the closing action one-handed, note whether your fingers slide toward the jaws, and check whether gloves change the result. A rotating ring can reduce twisting, but only if the connection remains tidy around loose line.
Care and replacement
After use, wipe away water, grit, and clipped line. Pay attention to the pivot and the meeting faces of the cutters. Following a salty session, use the cleaning guidance supplied for that exact tool and let it dry before putting it into a closed pouch. A corrosion-resistant material does not make trapped salt or sand harmless.
- Test the cut before a trip rather than discovering a dull edge while changing flies.
- Do not pry, crimp, or cut wire with a tool intended for leader and tippet.
- If the model has replaceable cutters, confirm the correct part and fitting method for that exact generation.
- Retire or repair a tool whose jaws no longer meet cleanly; extra squeezing does not restore alignment.
A practical decision
Choose the simplest nipper that cuts every line you normally use, feels secure in your hand, and attaches where you can reach it without looking. Add an eye pin or knot tool only when it replaces something you already carry. For anglers who move between fine freshwater tippet and heavy saltwater leader, two purpose-matched cutters may be more dependable than expecting one tiny tool to excel at both extremes.
The final check is physical: test your own material, inspect the cut, use the tool with wet or gloved hands, and make sure the attachment does not tangle with line. That modest fit check tells you more than a long feature list.

Could you write another post on this going into a little bit more detail? I had some questions that weren’t answered here but I liked what you had to say on the subject. Love to hear more of your perspective.
Sure thing, we’ll expand the post out.
Another great article. Keep up the good work!
Your writing style paints the picture. Another great post. Thx.
If you’re gonna spend $80 on the orvis nippers, might as well just get the best. Abel