
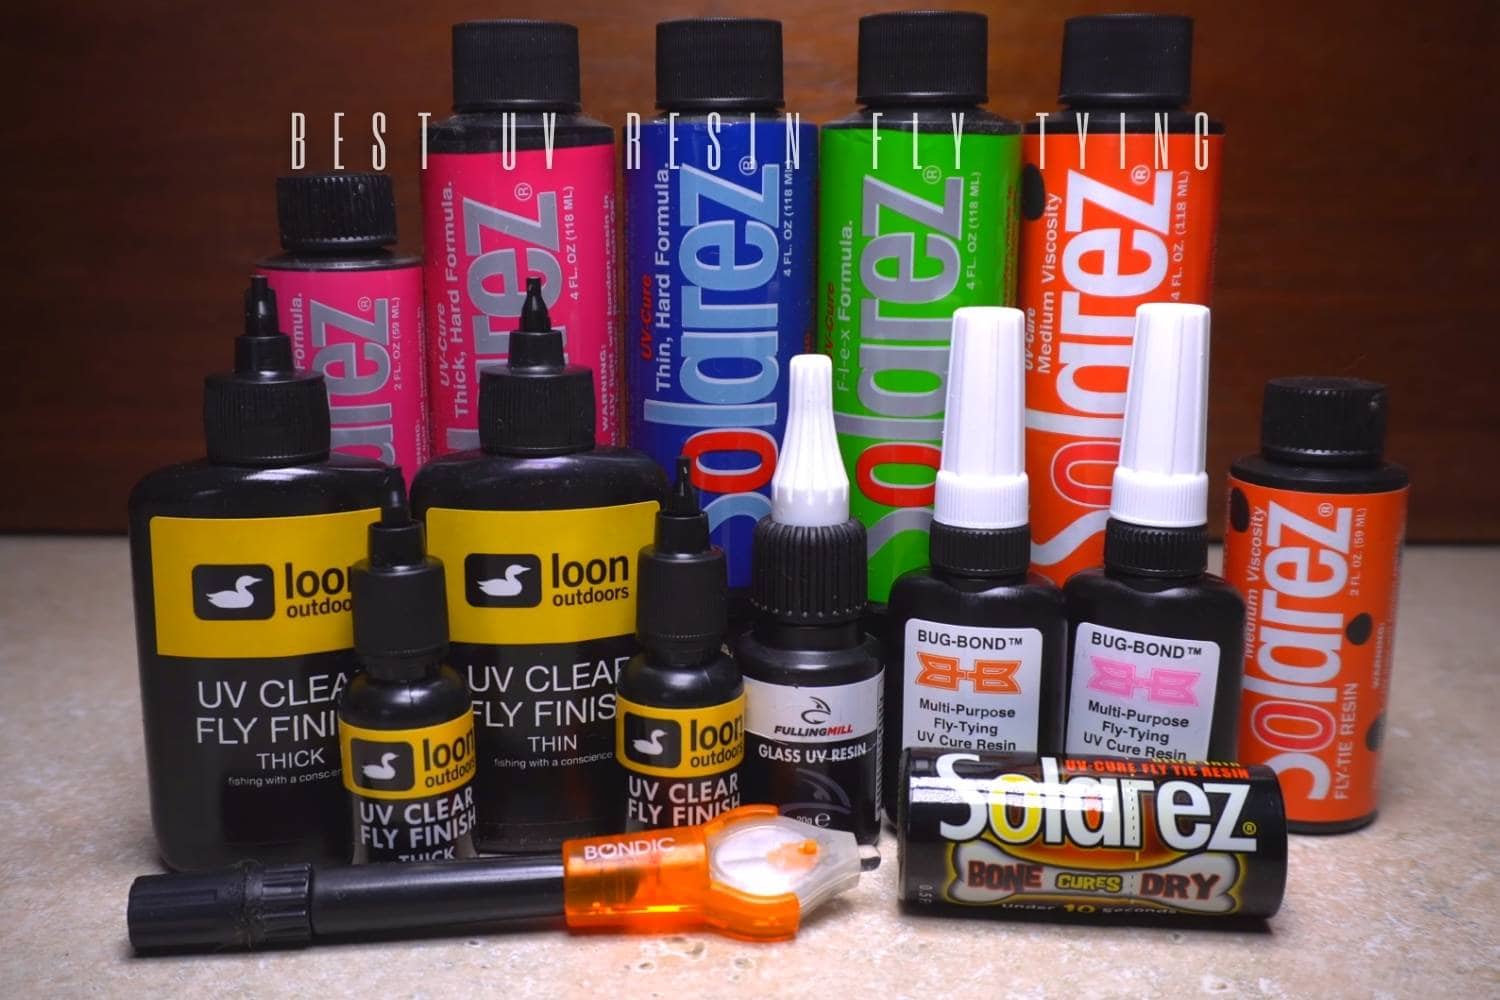
UV resin works best as a system: formula, applicator, fly orientation and curing light must suit one another. Choose viscosity by the job, apply restrained layers and cure the complete shape from several angles. Technique matters at least as much as the bottle.
Use thin resin for low-bulk penetration, medium resin for general shaping and thicker resin for controlled volume. Pair the exact formula with suitable curing equipment and test the combination on a sample before coating a batch.
Selection framework
| Choice or job | What it should accomplish | What to check |
|---|---|---|
| Thin resin | Low-bulk coating and small details | Watch for wicking into fibers or the eye |
| Medium resin | General bodies and wing cases | Rotate the fly before curing to control sag |
| Thick resin | Pronounced volume and shells | Build several small layers |
| Curing light | Harden the applied formula evenly | Confirm compatibility and illuminate all sides |
| Applicator | Place a controlled amount | Keep fine tips and bodkins clean |
Match viscosity to the job
Thin formulas travel quickly and can finish thread wraps with little bulk, but they can flood an eye or trap fibers. Medium formulas allow easier general shaping. Thick formulas hold volume yet can hide bubbles or remain incompletely cured when applied too deeply. Keep multiple viscosities only when your patterns need them; otherwise learn one formula and its movement thoroughly.
Apply less than expected
Secure the fly with the target surface level. Place a small amount with a fine tip or bodkin, rotate the fly and watch the material move before introducing the light. Remove excess while it remains controllable. Build larger shapes in thin stages, curing each stage. This provides more control than trying to form an entire body in one deep application.
Cure a three-dimensional object
A beam from one direction can leave shaded material beneath the hook, around an eye or inside dense fibers. Illuminate from several angles and use the timing and distance appropriate to the exact formula and light. If the surface remains soft, inspect exposure, depth and contamination before adding more material. A fresh sample is the quickest way to isolate the problem.
Keep the workspace controlled
Use ventilation, avoid skin and eye contact, and do not look into the curing beam. Protect the bench, cap resin between applications and keep bottles away from daylight or unintended curing light. Clean the applicator before residue reaches the cap threads. Handle uncured material and cleanup items according to the exact instructions rather than washing liquid resin into a sink.
Troubleshoot the finish
Bubbles often follow aggressive squeezing or mixing. Move slowly and let the material settle. A lopsided body means the fly moved or the resin sagged before the first cure. Cloudiness can follow contamination or handling. A blocked hook eye is best prevented by smaller placement. Brittle or soft results call for a new test rather than another layer on the same fly.
Article-era resin and light examples
Earlier sections named Loon Outdoors Clear Finish, SOLAREZ Medium Formula, SOLAREZ Thin Hard Formula, Loon Outdoors Nano, Loon Infiniti and Mastiff. They illustrate the viscosities and portable curing-light formats discussed at that time. Treat each as an article-era example and use the exact instructions for the formula and light in hand; a similar name does not establish unchanged contents or output.
Decision checklist
- Define the first two or three fly patterns and the range of work you will actually do.
- Measure the bench and set a comfortable hook height before selecting accessories.
- Test the component with the exact neighboring tools, materials or consumables it must work with.
- Prefer controllable and repeatable operation over maximum features, power or assortment.
- Inspect contact surfaces, moving parts and storage needs before a long session.
- When a problem repeats, change the one component or adjustment responsible for it.
Build a resin setup around controlled application and complete curing of the shapes you actually tie. Select viscosity for the task, apply less than the final profile appears to require, and rotate the fly so hidden surfaces receive attention. Add bottles or lights only when they solve a repeatable problem such as unwanted flow, trapped material, or inconsistent exposure at your bench.

Gidday Ben.
Chris Tutton here, we used to go fishing with your dad Richard at Lake Waikaremoana when you were a young fella.
Good to see you are passing your skills on and what a great site.
I am still fishing.
Cheers Chris