
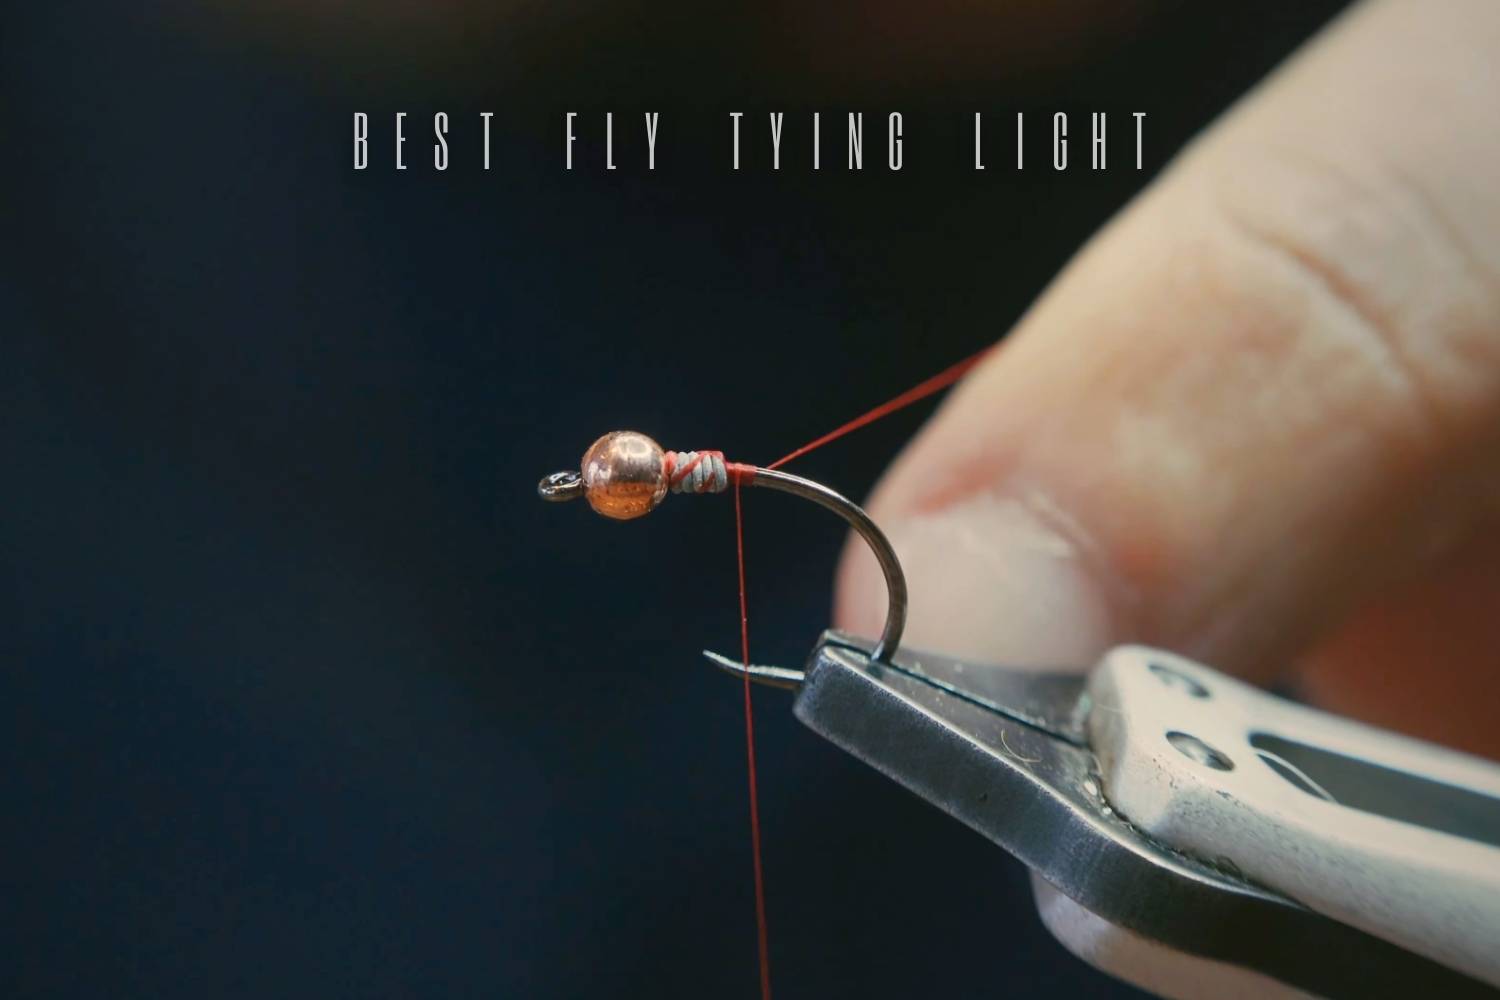
A good tying light reveals shape, color and shadow without forcing the tier to chase a bright spot around the hook. Stability, reach, beam placement and glare control matter more than maximum brightness or a long feature list.
Choose the mount and working geometry first. Then compare beam spread, adjustment, heat near the hands, glare on metal and resin, and whether the lamp returns to the same position after movement.
Selection framework
| Choice or job | What it should accomplish | What to check |
|---|---|---|
| Clamp lamp | Serve a dedicated bench | Check opening, pad grip and arm reach |
| Weighted base | Move around a shared table | Check footprint and tipping resistance |
| Dual light | Reduce deep shadows | Aim from opposing angles without glare |
| Magnifying lamp | Combine hands-free detail and light | Check focal distance and clearance |
| Portable lamp | Support temporary stations | Favor stable setup and protected travel |
Map the light to the vise
Place the hook where posture is comfortable, then bring the light to that point. The arm needs enough reach to illuminate slightly above and in front of the fly without entering the thread path. Check vise rotation and the approach of scissors, bobbin and hackle pliers. A compact lamp that cannot reach the work is not actually space-efficient.
Judge useful light
A very bright lamp can still create harsh reflections on resin, wire and hooks. Look for even coverage, controlled shadows and enough spread to include the hands. Adjustable intensity helps when moving between pale and dark materials. When color distinction matters, compare familiar thread and feathers beneath the lamp rather than trusting a descriptive label.
Control shadows by position
A lamp directly overhead can hide detail beneath the hook. Move it slightly forward or toward the non-dominant side. Add room light or a second restrained lamp if shadows remain severe. Keep the bare emitter outside the direct line of sight. A simple matte background behind the vise can improve edge contrast without increasing output.
Evaluate combined magnification
A lens-and-light unit keeps both hands free but creates a strict focal distance. Ensure the lens can sit between eyes and fly without colliding with tools or encouraging a forward neck. Check edge distortion and arm drift. If enlargement is occasional, a separate movable lens may preserve a better lighting position.
Maintain a safe bench
Route cords away from scissors, chair legs and clamp controls. Keep fibers away from hot surfaces and ventilation openings. Wipe diffusers and lenses gently, tighten only user-adjustable joints and protect folding arms in storage. After moving the station, inspect the clamp and cable before tying.
Article-era light examples
Earlier sections named the Carson Desk Brite, Ott Lite True Color, Brightech LightView PRO, Pro Work Bench Lamp and Brightech LightView Pro 2 in 1 XL. They represent compact, folding, clamp, dual-light and magnifying formats discussed at the time. Treat them as article-era examples and assess any exact lamp by its actual mount, reach and controls.
Decision checklist
- Define the first two or three fly patterns and the range of work you will actually do.
- Measure the bench and set a comfortable hook height before selecting accessories.
- Test the component with the exact neighboring tools, materials or consumables it must work with.
- Prefer controllable and repeatable operation over maximum features, power or assortment.
- Inspect contact surfaces, moving parts and storage needs before a long session.
- When a problem repeats, change the one component or adjustment responsible for it.
Test a proposed lamp during a complete pattern, not only by switching it on beside the vise. Move between pale and dark materials, rotate the hook, reach underneath with the bobbin and inspect the far side of the fly. Note any glare, drifting joints, blocked hand positions or areas that remain in shadow. The most useful setup is the one that maintains a clear view as the tying operation changes.
A useful tying light should illuminate the hook from the angles you work without forcing the vise, lamp, or your body into an awkward position. Check for shadows at the far side of the fly, glare from reflective materials, and arm movement as you change patterns. Improve placement and diffusion before assuming that more brightness or another feature will fix the bench.

your commentary on the last two lamps is exactly the same.
I think you used the Brightech LightView Pro 2 in 1 XL Commentary for the Pro Work Bench Lamp. I would have liked to read your thoughts on that lamp.
SK
Thanks Scott.
I’ll get that updated today.