
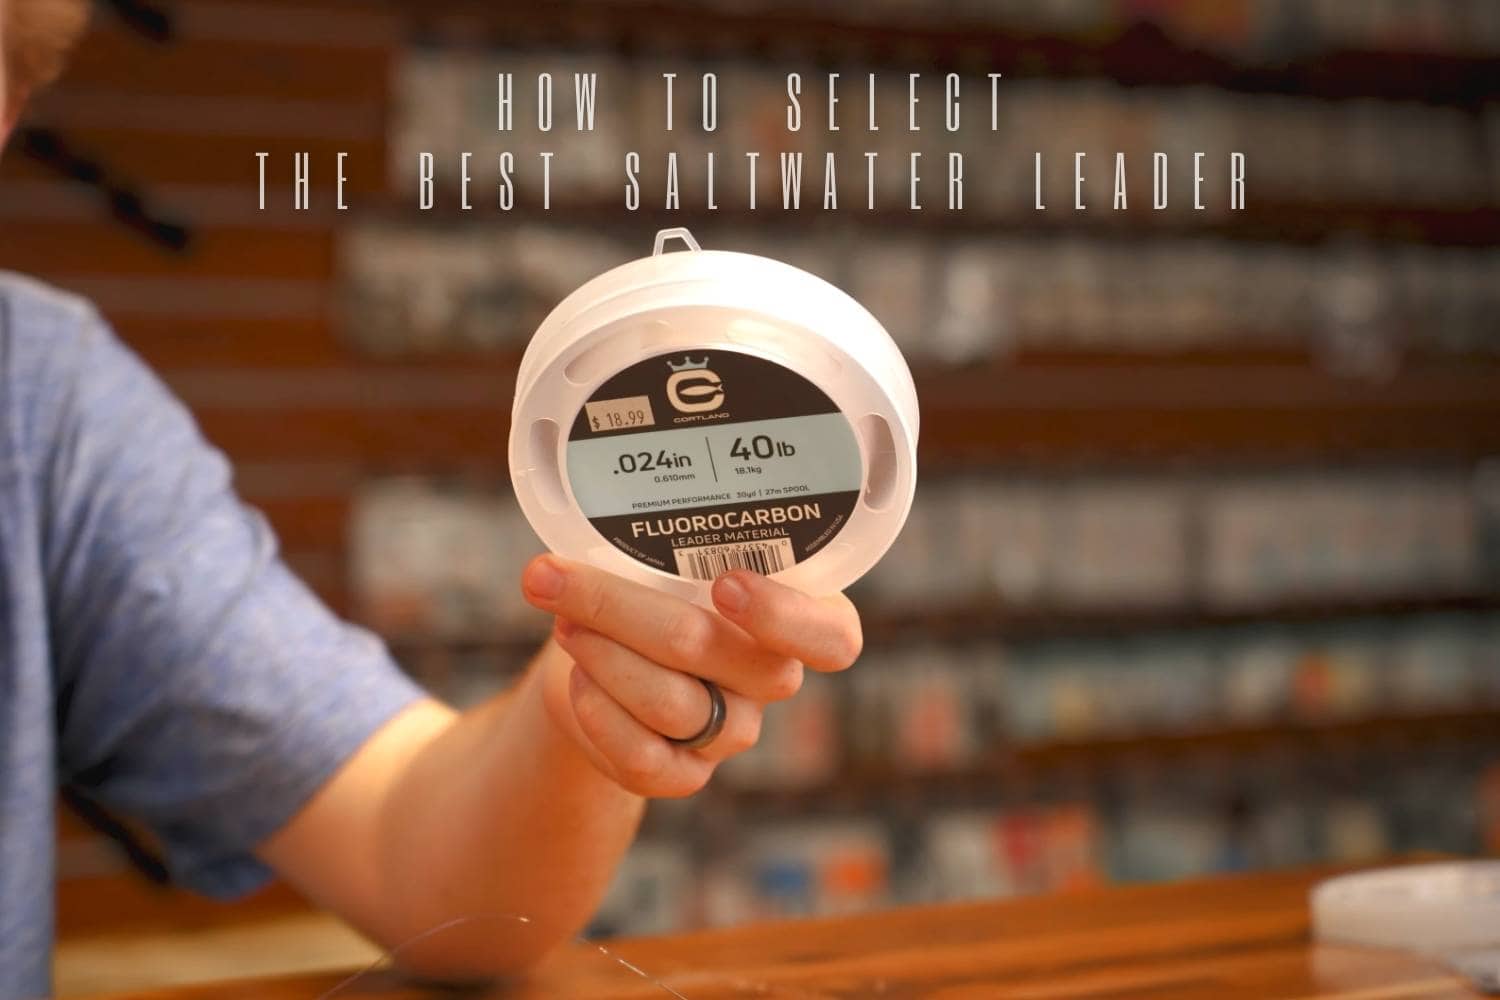
The best saltwater leader is the one that turns over the fly you are actually casting, holds up to the expected abrasion, and still gives the presentation the target requires. That means there is no single best material, length or formula for every flat, species and fly.
Use the target and fly to set the job. Then adjust for wind, casting control, abrasion and teeth. A leader that is ideal for a light presentation to bonefish may be a poor match for a larger fly intended for tarpon or giant trevally, while a heavy, short leader can sacrifice the subtle presentation needed in another situation.
Choose the leader by the fishing problem
Start with around nine feet only as a reference point, then shorten the leader when wind or casting control makes a longer system difficult. Length is one variable in a complete system, not a rule by itself.
| Factor | What it asks of the leader | Likely adjustment to test |
|---|---|---|
| Larger or heavier fly | Enough butt stiffness and taper to carry energy to the fly | A shorter or more assertive taper, provided the terminal section still suits the target |
| Strong wind | Reliable turnover and manageable timing | Shorten before automatically increasing every diameter |
| Subtle presentation | Separation from the fly line and a terminal section that does not overpower the fly | A longer or lighter terminal section only if it still turns over |
| Abrasion exposure | Material and terminal construction that tolerate expected contact | Prioritize abrasion condition and inspect frequently; do not rely on material labels alone |
| Caster control | A system the angler can straighten consistently | Use a shorter baseline and practice with the intended fly setup |
Change one factor at a time. If the leader will not straighten, first decide whether the cause is total length, an abrupt diameter step, a poorly seated knot or a terminal section that is too light for the fly. More breaking strength is not an automatic cure for poor turnover.
Match species guidance to the fly and conditions
Species names are useful starting signals, but they do not replace the real job. Bonefish and permit sit toward the lighter, longer, subtler end of the spectrum. Tarpon, giant trevally and large redfish sit toward shorter, thicker leaders used with larger flies and heavier tackle. Redfish can appear in both contexts, which is a reminder that fish size, fly and conditions matter.
| Target or situation | Starting direction | Do not assume |
|---|---|---|
| Bonefish or permit | Longer and lighter where a subtle presentation is needed and the fly still turns over | That maximum length is always better in wind |
| Redfish | Choose from the actual fish size, fly and cover rather than the species name alone | That every redfish situation belongs in one leader category |
| Tarpon, giant trevally or large redfish | Shorter and thicker when larger flies and heavier tackle require more decisive turnover | That this general direction supplies a safe breaking strength or bite-section recipe |
| Toothy target | Treat bite protection as a separate terminal-design decision | That ordinary tippet alone or one universal bite material is suitable |
Practice-cast the intended leader-and-fly combination before the fishing situation demands it. Shorter, thicker saltwater leaders can feel different, especially when paired with larger flies. The goal is not a particular loop shape on paper; it is repeatable control of the complete setup.
Choose material by its job, not a universal claim
Nylon monofilament can form the butt and middle of a saltwater leader. Because fluorocarbon is denser than nylon, anglers may consider it for a subsurface terminal section, but the behavior of the complete rig still depends on diameter, length, fly and current. Neither material is universally best.
- Turnover: butt diameter and stiffness affect how energy enters the leader. If the butt is too light for the line and fly, turnover may lag.
- Fly movement: the terminal section must be strong enough for the task without unnecessarily restricting the fly.
- Sink behavior: a faster-sinking terminal material may help in some deeper presentations, but it is not automatically right for every fly or water depth.
- Abrasion: judge the actual material condition and expected contact. “Fluorocarbon” or “mono” on a spool is not a guarantee against damage.
- Compatibility: compare actual diameters and test the chosen knot. Equal breaking-strength labels do not establish that two materials will join cleanly.
Fluorocarbon is not invisible, and this guide does not use invisibility as a selection claim. Presentation depends on the whole leader, fly, cast and conditions.
Treat shock and bite protection as a separate decision
For toothy fish or severe abrasion, the terminal end may need a dedicated shock or bite section between the tippet and fly. No single material, length, diameter or breaking strength suits every target.
Do not copy a freshwater taper and assume the last section is adequate. Define the terminal hazard first: teeth, rough structure, the force of turning over a large fly, or a combination of those factors. Then use target-specific guidance for the bite or shock section and test its connection to the rest of the leader. If those requirements are not known, do not guess a number.
Match knots to materials and diameter steps
Use blood knots for gradual step-downs and consider a double uni when two line diameters differ substantially. A perfection loop at the butt can connect to a fly line designed for loop-to-loop use.
| Connection | Starting knot | Acceptance check |
|---|---|---|
| Gradual diameter step | Blood knot | Coils seat evenly and the materials do not cut or slip under a steady pull |
| Large diameter difference | Double uni | Both sides draw down cleanly despite the mismatch |
| Leader butt to a suitable fly-line loop | Perfection loop in the leader butt | The completed loop is correctly seated and pull-tested |
| Tippet to shock or bite section | Target-specific choice required | Do not assume the same knot remains suitable when material type or diameter changes |
A knot is only acceptable when it seats correctly in the exact materials being used. Retie any connection that slips, deforms or produces an abrupt hinge.
How to tie and test your own saltwater leader
- Write the job description. Record the target group, fly size, likely wind, presentation need, abrasion exposure and whether bite protection is required.
- Choose a starting length. Around nine feet is a reference point, not a mandate. Shorten it when wind, fly size or casting control requires a more manageable system.
- Select the butt. Choose a diameter and stiffness that can accept energy from the fly line and carry the intended fly. Do not rely only on a breaking-strength label.
- Plan gradual middle steps. Avoid a large unsupported jump where possible. If a larger jump is necessary, choose the joining knot with that mismatch in mind.
- Build the tippet section. Balance turnover, fly movement, presentation and expected pressure without importing a universal freshwater percentage formula.
- Add shock or bite protection only when the job requires it. Keep its exact specification open until target-specific guidance supports it.
- Tie one connection at a time. Dress, inspect and steadily pull-test each knot before adding the next section.
- Cast-test the complete system. Use the intended fly setup in an appropriate practice setting. Watch for hinging, incomplete turnover and loss of control in wind.
- Adjust one variable. Change length, one diameter step, one material or one knot, then repeat both pull and casting tests.
- Inspect during use. Abrasion and knot damage can change a previously sound leader. Replace a damaged section rather than treating the first build as permanent.
The finished leader is a tested combination, not a formula copied without context. Keep the recipe that works for a specific target, fly and condition set, and rebuild the decision when any of those inputs changes.
