
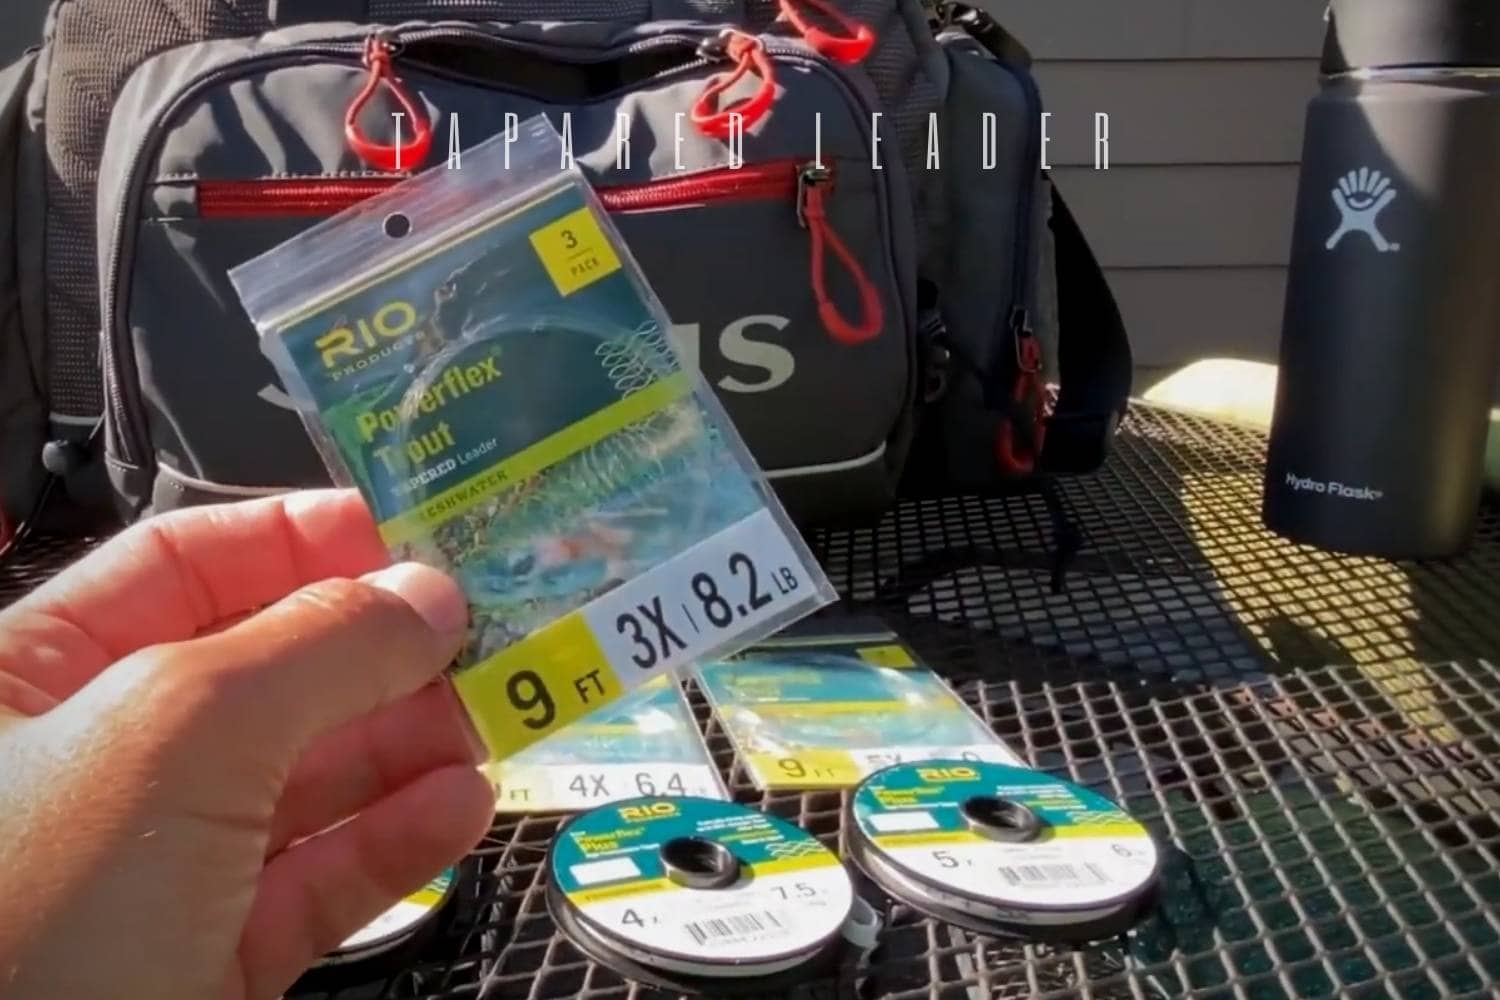
A knotted tapered leader lets you tune how a cast carries energy from the fly line to the fly. The basic job is simple: start with a thicker butt, step down through a middle section, and finish with a finer tippet. The useful part is not memorizing one “perfect” formula. It is learning how section length, diameter changes, knots and the fly affect turnover.
This guide builds a freshwater/general-purpose leader from a 60/20/20 recipe, then shows how to test and adjust it. Treat every measurement and breaking-strength label below as a starting point, not a promise for every rod, line, fly, fish or set of conditions.
The three parts of a tapered leader
- Butt section
- The thick end attached to the fly line. It receives casting energy first and makes up the largest share of the starting recipe.
- Middle section
- The transition between the butt and tippet. Its diameter steps down so energy does not meet one abrupt change.
- Tippet section
- The finest end attached to the fly. It must still let the chosen fly turn over and move as intended.
A good taper is a balance. A leader that is too abrupt for its knots or materials may hinge at a connection. A leader that becomes too fine or long for the fly may struggle to straighten. A leader that is too short or stiff may turn over forcefully but give up some delicacy. Those are tuning choices, not faults that one fixed formula can solve in every situation.
Start with 60/20/20, then earn your adjustments
One practical starting recipe uses a 60/20/20 split: 60 percent butt, 20 percent middle and 20 percent tippet. On a 10-foot leader, that works out to 6 feet, 2 feet and 2 feet. It is an easy baseline because it gives the butt most of the length while leaving room for a gradual step-down and a replaceable terminal section.
The example breaks that 10-foot layout into six pieces:
| Leader section | Example pieces | What to watch |
|---|---|---|
| Butt | 4 ft of 30 lb nylon, then 2 ft of 20 lb nylon | Enough stiffness and diameter to accept energy from the fly line without an abrupt first hinge |
| Middle | 1 ft of 15 lb nylon, then 1 ft of 8 lb nylon | Cleanly seated knots across each diameter change |
| Tippet | 1 ft of 6 lb fluorocarbon, then 1 ft of 4 lb fluorocarbon | Whether the terminal section still turns over the actual fly |
This is a recipe for learning the construction sequence. It does not prescribe a species-specific safety limit, and material labels alone cannot establish compatibility across every brand and diameter. Compare the actual line diameters, tie sample connections and test them before committing to the full leader.
Choose knots by the job and the diameter change
For this build, use a blood knot between adjacent sections and a perfection loop at the butt for a loop-to-loop connection. That is a workable starting combination, but knot choice cannot be separated from the materials being joined.
| Connection | Starting option | Compatibility check |
|---|---|---|
| Similar or gradually changing diameters | Blood knot | Confirm the coils seat evenly and the connection survives a steady pull |
| Pronounced diameter difference | Consider a double uni | A blood knot may not seat well when diameters differ greatly |
| Butt-to-line loop connection | Perfection loop | Use it only where the fly-line connection is intended for loop-to-loop use, then test the finished loop |
A knot name alone does not establish a sound connection. A neat-looking knot can still slip, cut into the other material or seat unevenly. If a connection does not draw together cleanly, do not hide the problem inside the leader; change the knot, reduce the diameter jump or choose a more compatible transition.
How to build the leader step by step
- Choose a target length and baseline. For a first build, the 10-foot 60/20/20 example above keeps the arithmetic visible. Shorten or lengthen later only after observing how it casts.
- Lay out every section in order. Arrange the pieces from thickest butt material to finest tippet material before tying anything. This catches reversed or missing steps.
- Add tying allowance. Cut each piece about six inches longer than its finished target so the knots do not steal the planned length.
- Form the butt connection. Tie the perfection loop if the fly line is set up for a loop-to-loop connection. Dress the loop and test it before continuing.
- Join the butt pieces. Tie the first transition, draw it together carefully and inspect how the materials seat.
- Continue through the middle. Repeat one connection at a time. A blood knot is the baseline; use the diameter-gap caution above rather than forcing it across an awkward transition.
- Add the tippet pieces. Keep the order clear, finish the terminal connection and trim tag ends only after each knot has seated correctly.
- Pull-test every connection. Use a slow, steady pull. If a knot slips, distorts or does not inspire confidence, retie it instead of moving on.
- Measure the finished leader. Compare the real section lengths with the intended 60/20/20 proportions. Knot consumption may make the final result slightly different from the cut lengths.
Test turnover before changing the formula
Attach the leader to the intended line and practice with the fly you expect it to carry, or an appropriate practice equivalent. Watch the leader rather than judging only the fly’s landing.
- If the leader fails to straighten: first check for a poor knot, a sharp diameter jump or a terminal section that is too long or fine for the fly. The answer is not automatically “use heavier material.”
- If the leader turns over too aggressively: a longer or finer terminal section may soften the delivery, but it must still control the fly.
- If the leader hinges at one knot: inspect the diameter transition and seating. A different joining knot or an intermediate diameter may be more useful than changing the whole leader.
- If turnover is consistent: keep the recipe and record it before experimenting. A repeatable baseline makes later adjustments meaningful.
Change one variable at a time: total length, one section length, one diameter step or one knot. Then pull-test the connections again and repeat the casting check. That process turns the 60/20/20 layout from a memorized formula into a leader you understand.
