
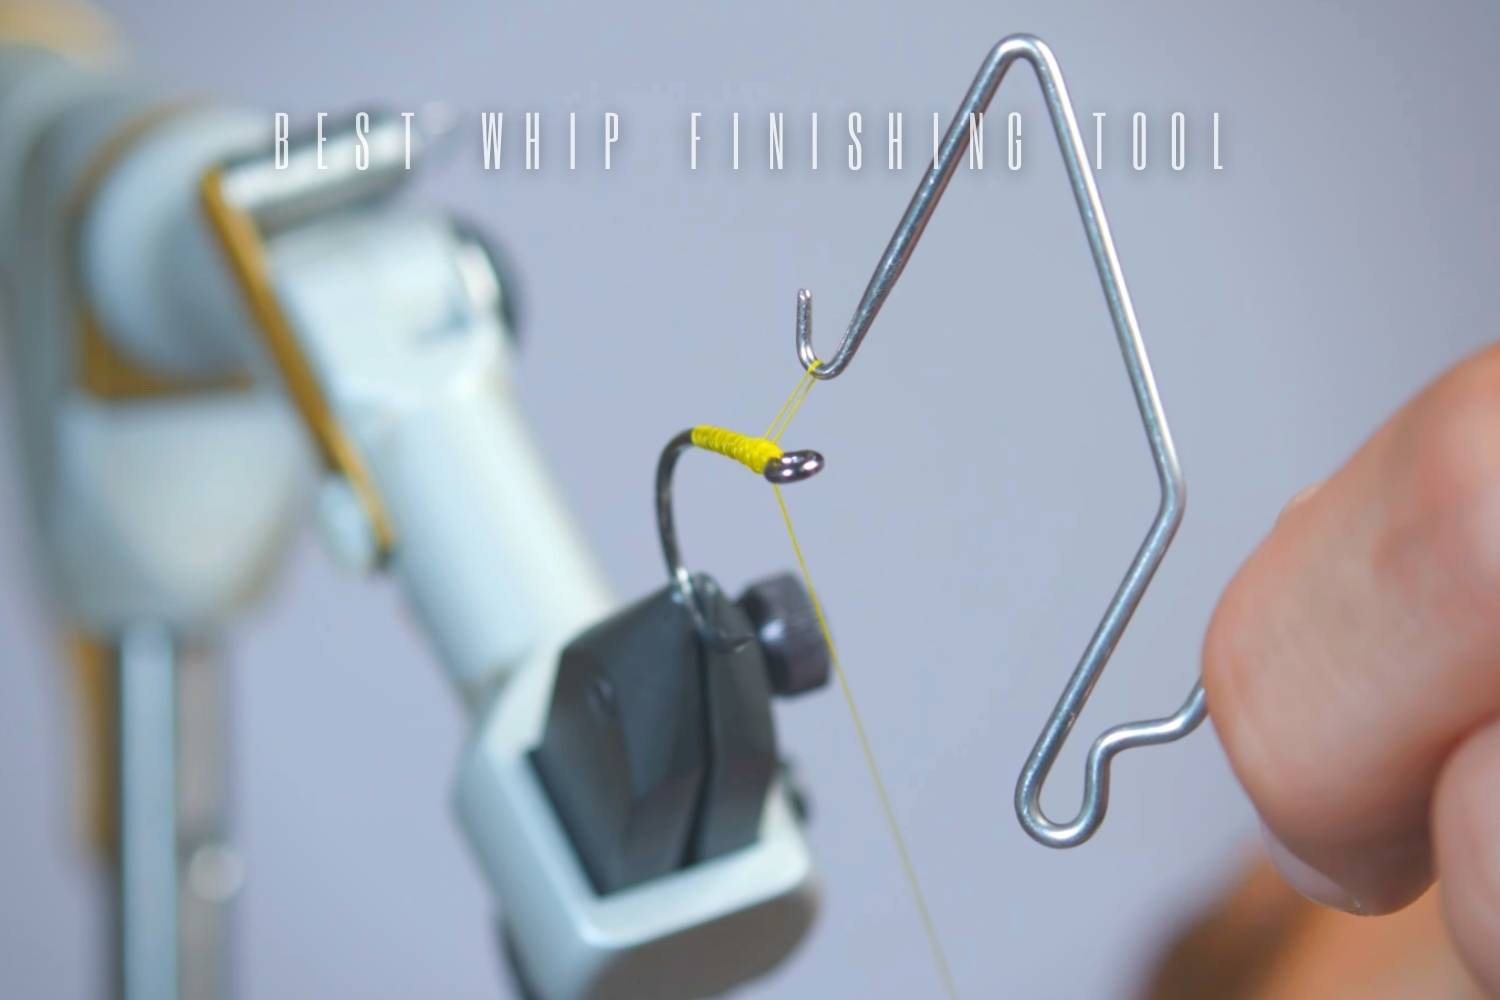
A whip finish tool helps place a compact finishing knot at the head of a fly. Selection is mostly about geometry and hand control: a small tool suits small heads, a larger tool gives more room around bulky patterns, and a rotating head can reduce awkward wrist movement once the motion is learned. Style and handle material matter less than smooth thread contact and predictable control.
Choose by the job you need done
The article-era tools discussed below illustrate different handle sizes, wire layouts, rotation, and secondary features. Use them to recognize design trade-offs, then test the exact tool against your hand, thread, and usual fly sizes instead of treating an older name as a current recommendation.
| Job | Look for | Trade-off | Article-era examples |
|---|---|---|---|
| General bench tying | A medium Matarelli-style tool with smooth rotation | Learn one repeatable motion before adding specialized sizes | Dr. Slick Whip Finisher; Griffin Stainless Steel Matarelli Style Whip Finishing Tool |
| Small flies | Compact arms and a small working triangle | Make sure the tool clears the hook and nearby materials | Tiemco Umpqua Fly Tying Whip Finishing Tool Midge |
| Travel kit | A simple, compact construction | Protect the wire arms from bending in transit | Kaaka Simple Lures Rotary Finisher |
| All-round rotary use | Polished arms and a controlled rotating head | Check that rotation is smooth rather than loose | Tooltron Fly Tyme Whip Finish |
| Combined bench functions | A useful secondary feature without compromised geometry | Choose the knotting action first and extras second | C&F Design CFT-110 2-in-1 Fly Tying Tool |
Pick size by the fly head
A small tool gives useful control around midges and compact dry-fly heads, while a larger one creates room around streamers, poppers, and bulkier materials. A medium tool can cover many ordinary patterns, but it may feel crowded at the smallest sizes and vague around the largest. Compare the arm span with the heads you tie most often rather than buying by a broad all-purpose label.
Understand the two common layouts
Two common layouts are Thompson-style and Matarelli-style tools. The Thompson layout uses crossing wires and more flexibility. The Matarelli form uses a bent, heavier wire and is often easier for a straightforward rotary motion. Neither style changes the goal: hold the thread in a controlled triangle, place the wraps, release the thread without snagging, and tighten the finish.
Prioritize smooth thread contact
Any rough edge, abrupt bend, or sticky rotation can catch thread and interrupt the knot. Run a short length of the thread you commonly use across the contact points before tying a full fly. The wire should guide the thread without fraying it. Polished arms and a stable pivot are more meaningful than decorative handle material.
Treat rotation as a learning aid, not a guarantee
A rotating head can reduce wrist contortions, but it still requires a consistent hand path. Begin with a larger practice hook and visible thread. Form the triangle slowly, keep steady tension, and watch how each wrap moves toward the fly head. Speed comes after the release motion is reliable. If the head wobbles or over-rotates, a simpler tool may provide better feedback.
Keep extra functions secondary
A half-hitch feature, hook magnet, or thread clip can be convenient at the bench. None compensates for arms that do not fit the fly or a grip that is uncomfortable. Choose the finishing geometry first. Then decide whether a secondary function genuinely removes another tool from your tying area.
Common questions
Do I need separate tools for small and large flies?
Not necessarily. A medium tool handles many patterns, but dedicated sizes can improve clearance and control at the extremes.
Is a bamboo handle better than metal?
Handle material mainly changes feel and appearance. Grip shape, balance, and the smoothness of the working arms have a more direct effect.
What should a beginner practice?
Practice forming the thread triangle, maintaining tension, making several controlled wraps, and releasing the tool without catching the thread.
A practical final check
Judge a whip-finishing tool by tying several heads in the size range you normally use. The hook, thread path, and handle should remain visible while you form and place the wraps, and the tool should release without catching the finished knot. Smooth, repeatable control matters more than decorative materials or extra functions that do not improve the finishing motion.
