
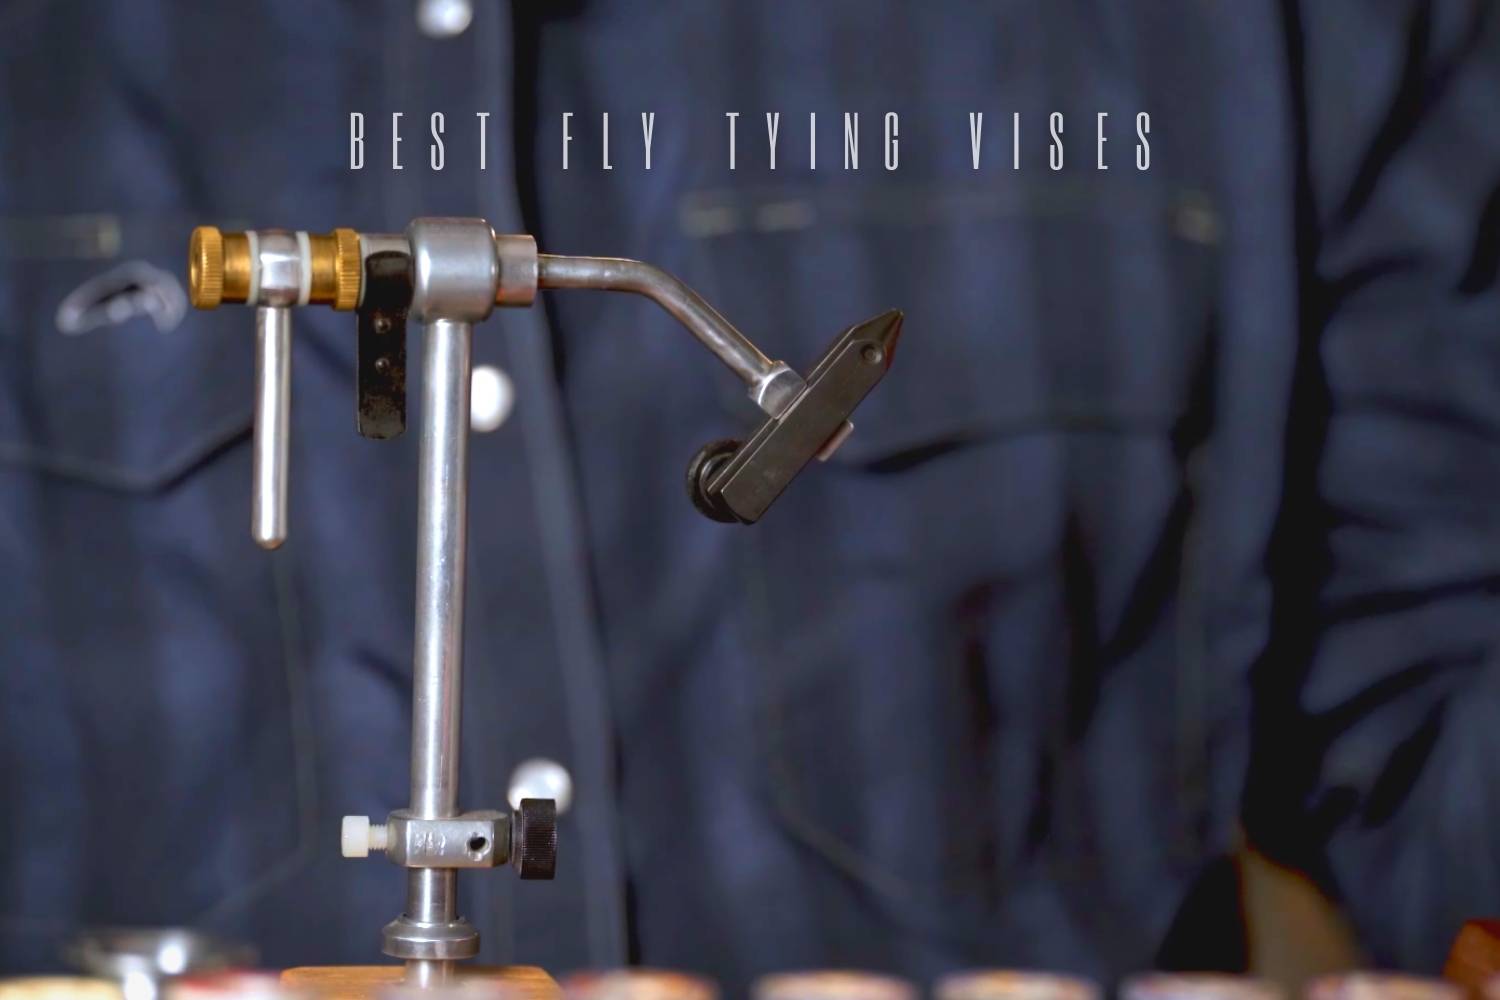
A vise is the anchor of the tying station. It must hold the hooks you actually use without slipping, leave room for thread and tools, and place the fly at a comfortable height. Rotation, portability and accessories matter only after grip and bench fit are right.
Start with the smallest and largest intended hooks, then decide where the vise will live. That sequence defines useful jaw range, base style, stem height and rotation before finish or extra hardware enters the choice.
Selection framework
| Choice or job | What it should accomplish | What to check |
|---|---|---|
| Jaw fit | Secure the intended hook range | Test grip and access around bend and point |
| Clamp base | Create a fixed station on a suitable edge | Measure opening, table thickness and pad contact |
| Pedestal base | Allow movable placement on a flat surface | Check footprint, mass and tipping resistance |
| Rotation | Expose every side and support controlled wrapping | Check shank alignment, resistance and lock |
| Working height | Support neutral neck, shoulders and wrists | Set hook height before a long session |
Begin with hook fit
A jaw may technically close on a hook yet leave poor access to the bend, point or underside. Try the wire shapes you tie most often and apply normal thread pressure. Very small hooks require precise contact and clear sight lines; heavy hooks require secure purchase without excessive force. If your tying spans extremes, a specialist jaw or second vise can be more sensible than forcing one setup to cover every job.
Clamp or pedestal?
A clamp is efficient when the table has a strong, square edge and the clamp opens far enough. It saves surface area and can make a rigid station. A pedestal works on more flat surfaces and moves easily, but its footprint and mass must resist tipping. Test the real table, not an idealized bench, and include storage and travel in the decision.
Use rotation to solve a task
Rotation is useful for inspecting the far side of a fly or wrapping materials evenly. Shank alignment matters if you expect the hook to stay on axis. Free movement, adjustable resistance and a positive lock serve different techniques. Operate the controls with your non-dominant hand and make sure turning the vise does not loosen the hook or foul the thread.
Fit the station to your body
Place the hook high enough to see without folding forward, but low enough that the shoulders remain relaxed. Adjust chair, light and magnifier as one system. Leave a clear path beneath the hook for the bobbin and enough space for scissors to approach from either side. A stable, comfortable station improves precision more reliably than another accessory.
Maintain grip and movement
Remove wax, adhesive and material fragments from jaws without altering their contact surfaces. Inspect the hook placement before tightening harder. Keep moving joints clean and use only intended adjustments. Check clamp pads, pedestal feet and fasteners periodically. Protect the jaws in transport and never store the vise with a hook left in place.
Article-era vise examples
Earlier sections named the Renzetti Traveler, Peak With Pedestal Base, Regal Travel, Griffin Odyssey Spider, Griffin Montana Mongoose, Regal Medallion with Pocket Base and Dyna-King Barracuda Deluxe. The author wrote that the article-era Renzetti Traveler was used for trout flies. That observation belongs only to that named section and does not extend to later or similarly named vises.
Decision checklist
- Define the first two or three fly patterns and the range of work you will actually do.
- Measure the bench and set a comfortable hook height before selecting accessories.
- Test the component with the exact neighboring tools, materials or consumables it must work with.
- Prefer controllable and repeatable operation over maximum features, power or assortment.
- Inspect contact surfaces, moving parts and storage needs before a long session.
- When a problem repeats, change the one component or adjustment responsible for it.
Choose a vise by proving that its jaws hold your usual hook range securely and that its base or clamp fits the place where you tie. Rotation, adjustability, and accessories should solve specific pattern or posture problems rather than distract from grip and access. A stable station that positions the hook comfortably will support better tying decisions than a longer feature list that does not match your bench.
