
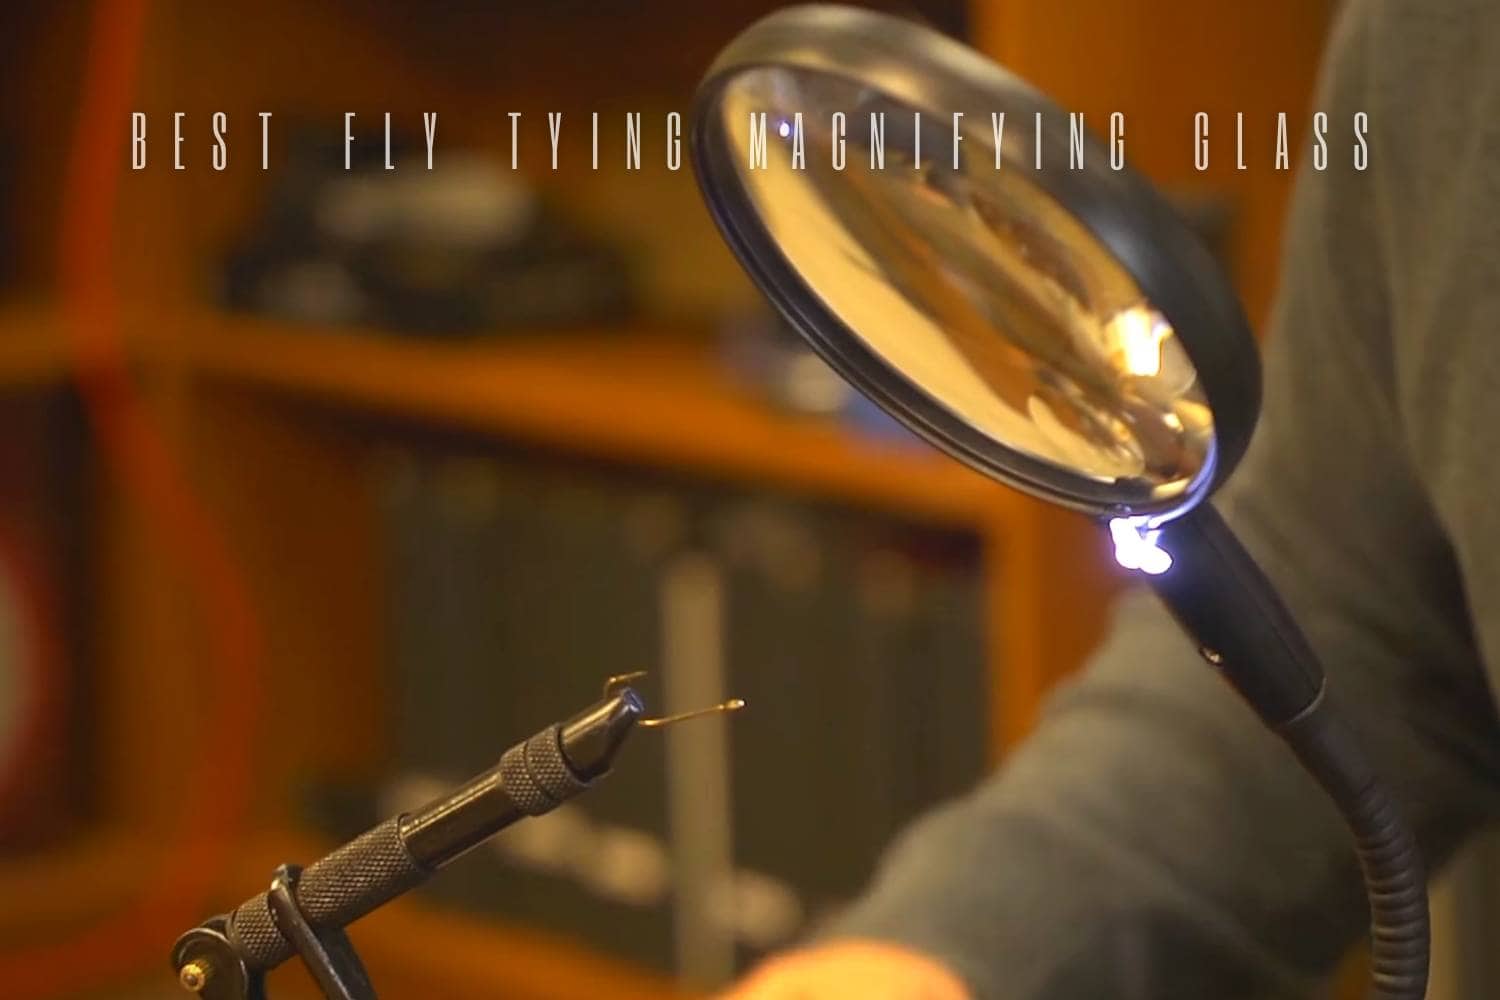
Magnification helps only when the image stays sharp at a comfortable distance and the lens leaves room for both hands. Stronger power narrows the field and depth of focus, so the most powerful lens is rarely the easiest one for a complete tying step.
Select the wearing or mounting format first, then use the lowest power that resolves the hook eye, thread wraps and material tips while preserving neutral posture.
Selection framework
| Choice or job | What it should accomplish | What to check |
|---|---|---|
| Bench mounted | Long hands-free sessions | Check clamp fit, drift and tool clearance |
| Headband or visor | Work across several stations | Check weight and peripheral visibility |
| Hat or glasses clip | Quick portable inspection | Check balance and repeatable position |
| Handheld | Read labels or inspect a finished fly | Expect only one free hand |
| Lighted lens | Create a compact detail station | Test glare and independent positioning |
Use the lowest effective power
Higher magnification enlarges detail but reduces the area that stays sharp. Begin at your ordinary working distance. If only a tiny point remains in focus, reduce power or reposition the lens. The goal is a stable view throughout a tying operation, not the largest possible image of a single thread wrap.
Preserve posture and clearance
Measure eye-to-hook distance with neck and shoulders neutral. The magnifier must focus there while leaving room for bobbin and scissors. A lens mounted too low causes collisions; one too high encourages leaning. Adjust chair, vise, lens and light together, then mark useful positions if the station is often packed away.
Check clarity and glare
Look through the center and edges at a straight object. Edge distortion becomes tiring when the fly repeatedly leaves the central area. Reflections from uncovered lamps can obscure fine thread, so angle light toward the hook without reflecting into the lens. Keep the lens clean because dust and fingerprints scatter light and imitate poor optics.
Fit wearable designs carefully
A visor or clip should remain balanced as the head turns. Make sure adjustments hold and that you can look away safely without removing the unit. Do not walk while relying on a close-focus lens. Take breaks, and stop when the setup encourages persistent headache, dizziness or strain.
Protect the lens
Use a soft cleaning method and keep abrasive bench debris away. Fold or cover the lens before storage so hooks and tools cannot scratch it. Inspect hinges, clips and clamps. Keep a lens away from unattended direct sunlight, where concentrated light may heat nearby material. Portable units benefit from a rigid case.
Article-era magnifier examples
Earlier sections named Boomerang Long Snip Cheaters, Orvis Flip Focal, Hat Eyes Magnifier Lens, MagniPros LED Illuminated Visor and Fancii Illuminated LED Handheld Set. They represent handheld, flip-down, wearable and illuminated formats discussed at that time. Treat them as article-era examples; a later item with a similar name may use a different lens or mount.
Decision checklist
- Define the first two or three fly patterns and the range of work you will actually do.
- Measure the bench and set a comfortable hook height before selecting accessories.
- Test the component with the exact neighboring tools, materials or consumables it must work with.
- Prefer controllable and repeatable operation over maximum features, power or assortment.
- Inspect contact surfaces, moving parts and storage needs before a long session.
- When a problem repeats, change the one component or adjustment responsible for it.
Evaluate a lens across an entire pattern. Begin at the hook eye, move to the bend, tie on the far side and reach underneath with the bobbin. The fly should remain easy to relocate after each hand movement. Also look away from the lens and back again several times. A useful magnifier supports these transitions without demanding repeated chair, vise or head adjustments.
Magnification should reveal the detail you need while preserving a relaxed head position and enough clearance for tools around the hook. Start with the lowest effective power, then check the working distance across a complete tying sequence rather than a single close look. A lens that is stronger but forces constant refocusing or neck movement is unlikely to improve the station.
