
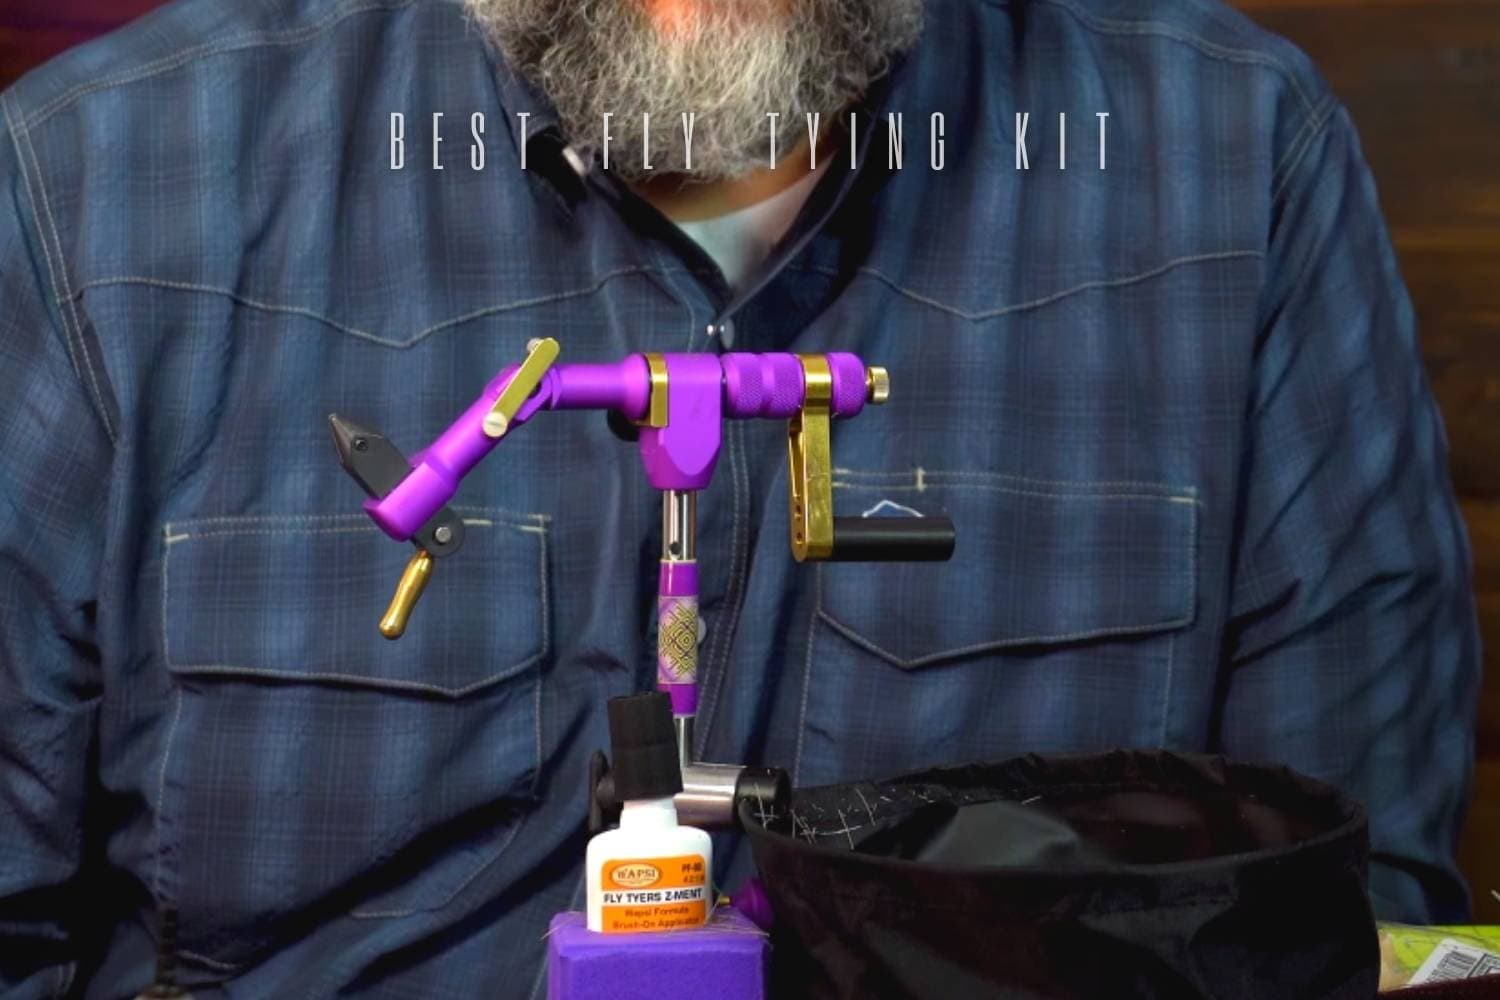
A useful fly tying kit is not the box with the longest inventory. It is the smallest coherent system that lets you secure a hook, control thread, cut materials cleanly, finish a fly, and repeat a simple pattern without fighting the tools. Beginners usually learn faster when every item has a clear job and the included materials match a short pattern plan.
Choose a complete starter kit if convenience and a guided first session matter most. Build a kit component by component if you already know the flies you want to tie, expect to tie often, or want to avoid replacing the vise and scissors soon after learning.
Selection framework
| Choice or job | What it should accomplish | What to check |
|---|---|---|
| Hook holding | A vise that grips the hook without slipping or damaging it | Try several hook sizes; check jaw clearance and a stable base |
| Thread control | A bobbin holder with a smooth tube and usable tension | Run thread through the tube and pull at several angles |
| Cutting | Fine-point scissors reserved for thread and soft materials | Check tip alignment and keep wire away from the fine blades |
| Finishing | A whip-finishing tool or a practiced hand finish | Confirm the tool fits comfortably around the vise jaws |
| Material handling | Hackle pliers, bodkin, threader and simple storage | Favor secure grip and easy retrieval over a high piece count |
Complete kit or build your own?
A complete set reduces decision fatigue and keeps the first lesson moving. Its weakness is uneven quality: a usable vise may be paired with rough scissors or a bobbin tube that damages thread. A component-built setup costs more attention at the start, but each tool can be selected for the patterns and hook range you actually use. A sensible middle path is to begin with the essentials, then add specialist tools only when a pattern calls for them.
Let your first patterns define the materials
Pick two or three uncomplicated flies before choosing feathers, dubbing, wire, hooks and thread. A focused material list is easier to organize and teaches proportion more clearly than a large assortment of unidentified pieces. Match hook style and size to the pattern, then choose one dependable thread and only the colors the recipe requires. This prevents a beginner box from becoming a collection of materials that never work together.
Set up the kit for repeatable work
Place the vise so the hook sits near a comfortable viewing height. Keep scissors in the same hand-side location, park the bobbin beneath the fly when pausing, and separate sharp hooks from loose fibers. Good lighting should reach both sides of the hook without forcing you to lean forward. Before the first wrap, test the vise grip and thread tension. A few minutes spent arranging the bench makes the tying sequence easier to remember.
Upgrade the bottleneck, not the whole box
Replace a tool when it causes a specific recurring problem. Slipping hooks point to the vise or jaw setup. Frayed thread points to the bobbin tube, excessive tension, or a rough edge. Ragged cuts point to blade care or the wrong scissors. A tool that merely looks basic is not automatically a problem. Keeping a short note of what interrupted each session is a better upgrade guide than buying another large set.
Care and storage
Brush debris from vise jaws, wipe tools dry, close bottles, and return hooks to labeled containers after every session. Reserve fine scissors for soft materials and use a separate cutter for wire. Store feathers and fibers clean, dry and protected from crushing. Check the bobbin tube for chips and the vise for loose fasteners. A simple inventory card inside the box helps replace consumed materials without duplicating tools.
Article-era kit examples
The original article pictured the Scientific Anglers Deluxe Fly Tying Kit, Orvis Deluxe Fly Tying Kit, Wetfly Deluxe Fly Tying Kit, Griffin Odyssey Spider Tying Vise, Peak Rotary Fly Tying Vise, and Dr Slick Tool Kit. These names are useful for recognizing the kinds of complete and component-built packages discussed there. Treat them as article-era examples and judge any similarly named item by its exact contents, vise configuration, instructions and materials rather than assuming continuity.
Decision checklist
- Define the first two or three fly patterns and the hook range you will actually tie.
- Measure the available bench space and set a comfortable hook height before choosing accessories.
- Test the component with the exact neighboring tools, materials or consumables it must work with.
- Prefer a controllable, repeatable setup over maximum features, maximum power or the largest assortment.
- Inspect contact surfaces, moving parts and storage needs before every long session.
- Keep a short bench note when a problem repeats, then change the one component causing it.
A durable tying system grows from clear jobs and compatible parts. Buy or replace only after you can name the limitation you are solving. That approach keeps the bench simpler, makes technique easier to evaluate, and prevents an article-era product name from standing in for the fit of the exact tool or material in front of you.
